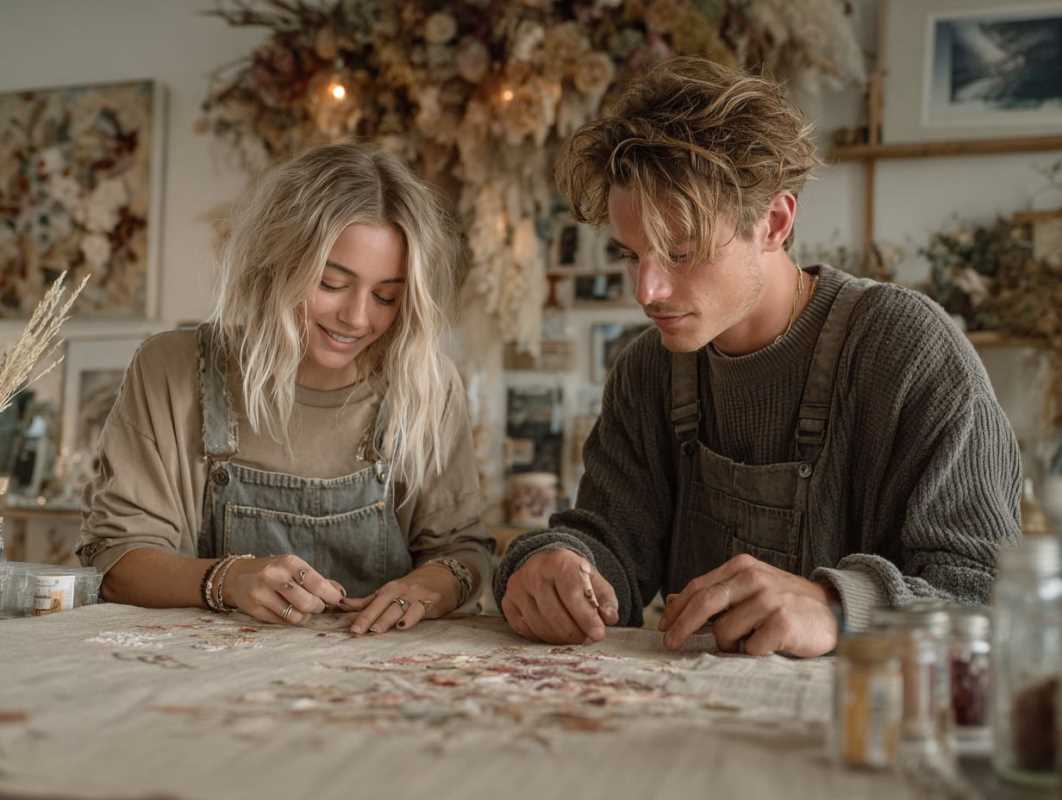
 (Image source: Midjourney)
 Make your wedding day uniquely yours with personalized decorations! DIY wedding décor not only saves money but also adds heartfelt charm to your special day. Whether you’re a crafting pro or tackling your first glue gun project, there are countless ways to create beautiful decorations that reflect your personality and style. Get ready to roll up your sleeves and bring those Pinterest boards to life! Here are some creative DIY wedding décor ideas that are as fun to make as they are to display.
1. Handmade Centerpieces
Your centerpieces set the tone for your reception’s aesthetic, and DIY options allow you to customize them to match your vision perfectly. Whether you’re going for rustic, elegant, or whimsical, there’s a project for you.
How to create rustic jar centerpieces:
What you’ll need:
- Mason jars (new or repurposed)
- Burlap or lace ribbons
- Artificial or fresh flowers
- Twine
- Hot glue gun
Step-by-step instructions:
- Wrap the mason jar with burlap or lace ribbon and secure it with hot glue.
- Tie twine around the top rim of the jar for extra texture.
- Fill the jars with flowers that match your color scheme. Use fresh blooms for a romantic look or high-quality faux flowers to save money.
- Add a tea light or string fairy lights inside the jar for an enchanting glow.
Vary the jar heights and flower arrangements to create a dynamic, layered look on each table.
2. Custom Signage
From welcoming guests to directing them to the dance floor, custom signs are a stylish and practical way to enhance your wedding’s vibe. They’re surprisingly simple to DIY and can be tailored to match any theme.
Chalkboard signs:
What you’ll need:
- Pre-made chalkboard (or a wooden board painted with chalkboard paint)
- Chalk markers (for a polished, smudge-free look)
- Templates or stencils (optional for uniform lettering)
Step-by-step instructions:
- Choose your wording. Ideas include “Welcome to Our Forever,” “Unplugged Ceremony – Please Silence Phones,” or a playful “Bar This Way!”
- Sketch the text lightly with a pencil if free-handing, or use stencils for clean, uniform letters.
- Fill in the design with chalk markers, adding embellishments like floral doodles or arrows.
Pro Tip: Practice your lettering on scratch paper first, and keep a damp cloth handy to erase mistakes.
Wooden signs with paint:
For a timeless look, create wooden directional signs for your ceremony or reception areas. Use reclaimed wood and white acrylic paint to write messages like “Ceremony,” “Reception,” or “Photo Booth.”
Sand the edges of the wood for a polished, rustic finish, or use metallic paint for an elegant touch.
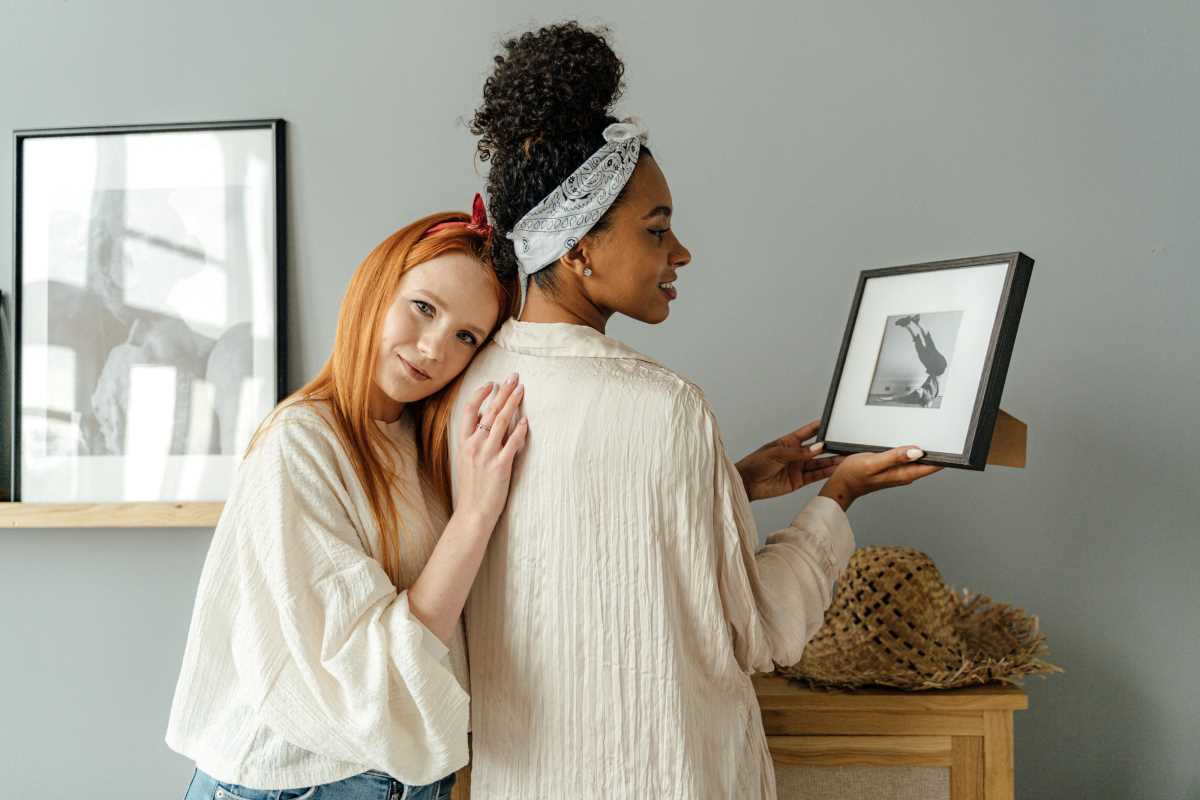
3. DIY Photo Displays
Highlight your favorite memories or showcase your love story with creative photo displays. They make meaningful décor pieces that double as conversation starters for your guests.
String light photo backdrop:
What you’ll need:
- A blank wall or freestanding frame
- String lights or fairy lights
- Wooden clothespins
- Printed photos (from childhood memories to engagement snaps)
Step-by-step instructions:
- Hang string lights vertically or horizontally across the wall to create the framework.
- Attach your photos to the lights using clothespins. You can mix in small decorative items like faux leaves or heartfelt notes for variety.
- Place the display near the entrance or behind your sweetheart table to make an impact.
Pro Tip: For cohesive visuals, print your photos in black-and-white or use a photo filter for a consistent color tone.
Polaroid guestbook station:
Set up an interactive guestbook station by combining a photo display with personal notes. Provide a Polaroid camera, film, and markers for guests to snap photos and write messages before pinning their contributions to the wall.
Add a sign with instructions like, “Snap a Pic, Leave a Memory!”
4. Unique Table Settings
Your tablescapes create the foundation for your reception’s décor. Adding small, thoughtful DIY touches will elevate your celebration and leave guests in awe.
Personalized place cards:
What you’ll need:
- Cardstock or pre-cut place cards
- Metallic pens or calligraphy markers
- Small decorative items like mini pinecones, dried flowers, or seashells
Step-by-step instructions:
- Write each guest’s name on a piece of cardstock or a pre-made place card. Use metallic markers or practice simple calligraphy for an elegant touch.
- Attach the place card to your chosen décor item, such as tying it to a mini bouquet or tucking it inside a napkin fold.
- Arrange each card neatly at its corresponding seat.
Incorporate colors that tie into the rest of your décor for a cohesive look.
DIY napkin rings:
What you’ll need:
- Twine
- Small faux flowers or sprigs of greenery
- Hot glue gun
Step-by-step instructions:
- Cut a length of twine (approximately 6 to 8 inches) for each napkin ring.
- Tie the ends into a simple bow, securing the shape with hot glue.
- Glue a small faux flower or greenery sprig where the bow is tied, then loop around rolled napkins.
Don’t overthink perfection! Slightly irregular napkin rings add to the handmade charm.
5. Hanging Décor Effects
Hanging décor instantly elevates your space, drawing eyes upward and creating a magical atmosphere. Best of all, you can make it yourself with minimal materials.
DIY floral chandelier:
What you’ll need:
- Embroidery hoop or metal ring
- Fishing line or twine
- Faux greenery and flowers
- Hot glue gun or floral wire
Step-by-step instructions:
- Attach faux greenery around the hoop, wrapping it securely with floral wire or gluing it into place.
- Add flowers sparingly, clustering them in sections or arranging them evenly across the greenery.
- Tie fishing line to the hoop and hang it from the ceiling or a sturdy frame above your ceremony or reception area.
Use lightweight materials to ensure the chandelier hangs securely without sagging.
Paper garlands:
What you’ll need:
- Colored cardstock or scrapbook paper
- Scissors or a circle punch
- String or ribbon
- Glue or double-sided tape
Step-by-step instructions:
- Cut out shapes like circles, hearts, or leaves from cardstock. You can fold the shapes in half for a 3D look.
- Attach the shapes to the string using double-sided tape or glue. Leave an even gap between each piece.
- Hang the garlands over an archway, along tables, or from the ceiling to create a whimsical effect.
Use colors and textures that echo your wedding’s theme for a seamlessly coordinated design.